
Creating a Radial gauge using the Gauge Designer allows you to use predefined presets, therefore eliminating a lot of the work required to create Radial gauges.
Using the Gauge Designer to create Radial gauges will help you create visually appealing and professional-looking gauges such as speedometers.
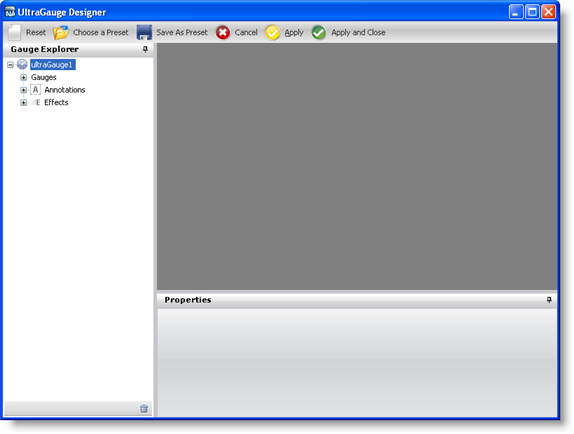
From the toolbox, drag the UltraGauge control to your form. The Gauge Designer opens.
On the Toolbar, click Open Presets.
Click the Radial tab.

Select a predefined Radial gauge. When you select a gauge it appears in the interactive preview area.

To create a Radial gauge using the selected preset without closing the Gauge Designer, click Apply. To create a Radial gauge using the selected preset and automatically close the designer, click Apply and Close.
Run the application. It should look similar to the form below.
