xmlns:ig="http://schemas.infragistics.com/xaml"
xmlns:models="clr-namespace:DATA_MODEL_NAMESPACE"
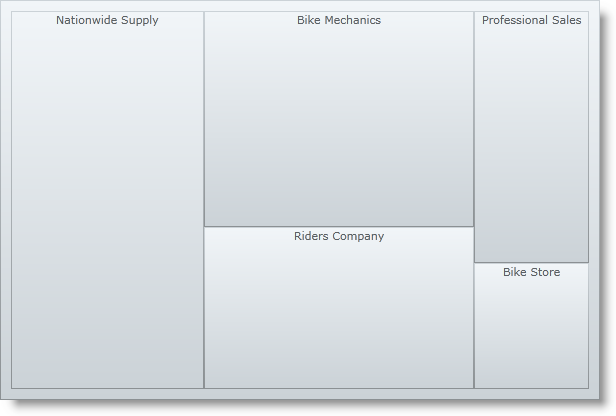
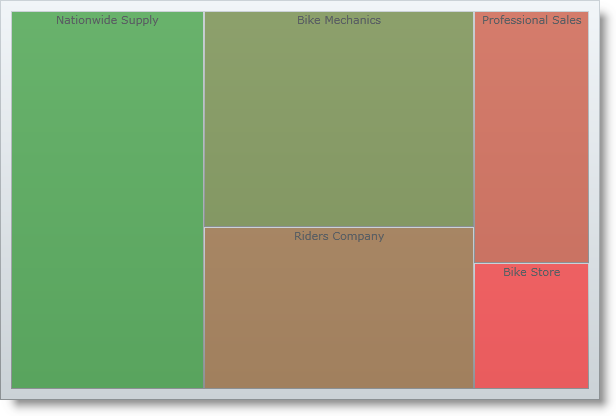
This topic describes the basic steps required for adding the xamTreemap™ control to your application using XAML. The control needs a data object model to be mapped to its DataContext property - the topic will provide a simple data object model, but you can create your own and use it instead.
You will add an instance of the xamTreemap control with simple data binding to your application .
Note: This sample uses a simple data model for binding the xamTreemap control’s DataContext property. You can download it from Manufacturer View Model and use it in your project while working through this sample.
Create a Microsoft® WPF™ application.
Add the following NuGet package to your application:
Infragistics.WPF.Treemap
For more information on setting up the NuGet feed and adding NuGet packages, you can take a look at the following documentation: NuGet Feeds.
Add the following XML namespace declarations:
In XAML:
xmlns:ig="http://schemas.infragistics.com/xaml" xmlns:models="clr-namespace:DATA_MODEL_NAMESPACE"
Add an instance of the xamTreemap control with a DataContext bound to the ManufacturerViewModel and an ItemsSource bound to the Manufacturers property of the view model.
In XAML:
<ig:XamTreemap ItemsSource="{Binding Manufacturers}">
    <ig:XamTreemap.DataContext>
        <models:ManufacturerViewModel />
    </ig:XamTreemap.DataContext>
    <ig:XamTreemap.NodeBinders>
        <!--Add Node Binders-->
    </ig:XamTreemap.NodeBinders>
    <ig:XamTreemap.ValueMappers>
        <!--Add Value Mappers-->
    </ig:XamTreemap.ValueMappers>
</ig:XamTreemap>
Add Node Binders to the control’s NodeBinders collection.
In XAML:
<ig:XamTreemap ItemsSource="{Binding Manufacturers}">
    <ig:XamTreemap.DataContext>
        <models:ManufacturerViewModel />
    </ig:XamTreemap.DataContext>
    <ig:XamTreemap.NodeBinders>
        <ig:NodeBinder TargetTypeName="Manufacturer"
                       ValuePath="Revenue"
                       TextPath="Name" />
    </ig:XamTreemap.NodeBinders>
    <ig:XamTreemap.ValueMappers>
        <!--Add Value Mappers-->
    </ig:XamTreemap.ValueMappers>
</ig:XamTreemap>

Add Value Mappers to the control’s ValueMappers collection.
In XAML:
<ig:XamTreemap ItemsSource="{Binding Manufacturers}">
    <ig:XamTreemap.DataContext>
        <models:ManufacturerViewModel />
    </ig:XamTreemap.DataContext>
    <ig:XamTreemap.NodeBinders>
        <ig:NodeBinder TargetTypeName="Manufacturer"
                       ValuePath="Revenue"
                       TextPath="Name" />
    </ig:XamTreemap.NodeBinders>
    <ig:XamTreemap.ValueMappers>
        <ig:ColorMapper ValueTypeName="Manufacturer"
                        TargetProperty="Fill"
                        ValuePath="Revenue"
                        From="#90FF0000"
                        To="#90008000"/>
    </ig:XamTreemap.ValueMappers>
</ig:XamTreemap>

Save and run your application.