Version

Using WebProgressBar inside WebDataGrid templates to display the values

Before You Begin

WebProgressBar™ can easily be placed in WebDataGrid™ templates to visually display the value of the cells in the grid.

What You Will Accomplish

You will learn how to use WebProgressBar inside WebDataGrid templates to display the cell value of the grid.

Follow these Steps

  1. From the Visual Studio™ Toolbox, drag and drop a ScriptManager component and a WebDataGrid control onto the form.

  2. Add the following code to manually bind data to WebDataGrid in the Page_Load event.

In Visual Basic:

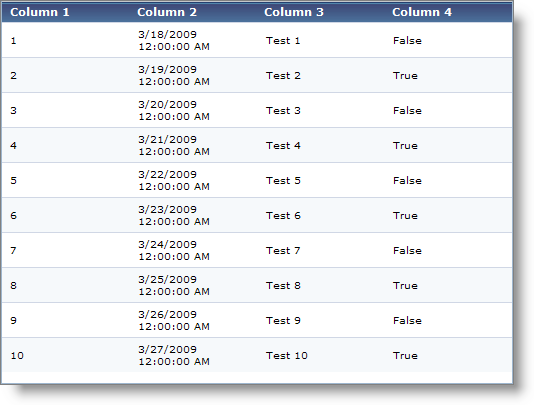
        Dim dt As New DataTable()
        dt.Columns.Add("Column 1", Type.[GetType]("System.Double"))
        dt.Columns.Add("Column 2")
        dt.Columns.Add("Column 3")
        dt.Columns.Add("Column 4")
        For i As Integer = 1 To 10
            Dim dr As DataRow = dt.NewRow()
            dr(0) = i
            dr(1) = DateTime.Today.AddDays(i)
            dr(2) = "Test " & i.ToString()
            dr(3) = (i Mod 2 = 0)
            dt.Rows.Add(dr)
        Next
        Me.WebDataGrid1.DataSource = dt
        Me.WebDataGrid1.DataBind()

In C#:

 DataTable dt = new DataTable();
        dt.Columns.Add("Column 1", Type.GetType("System.Double"));
        dt.Columns.Add("Column 2");
        dt.Columns.Add("Column 3");
        dt.Columns.Add("Column 4");
        for (int i = 1; i $$<=$$ 10; i++)
        {
            DataRow dr = dt.NewRow();
            dr[0] = i;
            dr[1] = DateTime.Today.AddDays(i);
            dr[2] = "Test " + i.ToString();
            dr[3] = (i % 2 == 0);
            dt.Rows.Add(dr);
        }
        this.WebDataGrid1.DataSource = dt;
        this.WebDataGrid1.DataBind();
  1. At this point, the WebDataGrid looks similar to the following image with data:

images\WebProgressBar Using WebProgressBar as an Editor Control in WebDataGrid 02.png
  1. Stop the project and then click Edit Columns from the smart tag of the WebDataGrid to add a templated column. This opens the WebDataGrid Designer.

  2. Select TemplateField from the Available Fields and click the Add Field button to add a templated column.

  3. Select the added field from the Selected Fields area and set the Key property to “WPB_Template” and Header Text to “WPB”.

  4. Click Apply and OK to close the WebDataGrid Designer.

  5. In the property window, set the EnableRelativeLayout property of the WebDataGrid to True , so that the WebProgressBar will not overflow the grid.

  6. Click Edit Templates from the WebDataGrid smart tag to open the grid in template editing mode.

  7. Select WPB_Template from the drop-down list to edit the template.

  8. In the Item Template area, drag and drop a WebProgressBar control and set its Maximum property to 10 using the property window.

  9. Click End Template Editing to complete the template editing.

  10. In the ASPX markup source, set the Value property of the WebProgressBar to the cell value of the Column1 by using the DataBinder.Eval method.

In Visual Basic:

Value=<%# DataBinder.Eval(CType(Container, Infragistics.Web.UI.TemplateContainer).DataItem, "Column 1") %>

In C#:

Value=<%# DataBinder.Eval(((Infragistics.Web.UI.TemplateContainer)Container).DataItem, "Column 1") %>
  1. Save and run your application. Your WebDataGrid now looks similar to the following image:

images\WebProgressBar Using WebProgressBar as an Editor Control in WebDataGrid 01.png