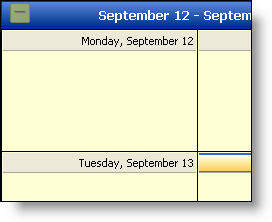
Navigation buttons within the WebSchedule UI elements can be customized by using your own images in place of the buttons.
To show your own Previous and Next buttons, simply set the PrevButtonImage and NextButtonImage object properties on the WebMonthView™ or WebDayView™ control.
The PrevButtonImage and NextButtonImage objects both have four properties that you can set:
Url — This property is the primary one that you set to the source of the image you want to display for that button.
Height — This property is used to specify the height of the image on the user interface, and is optional.
Width — This property is used to specify the width of the image on the user interface.
AlternateText — This property can be set to the string you would want to show if the image wasn’t available.
The code below shows an example of setting the Url property of both the PrevButtonImage and NextButtonImage objects.

In Visual Basic:
Private Sub Page_Load(ByVal sender As System.Object, ByVal _
  e As System.EventArgs) Handles MyBase.Load
	Me.WebDayView1.NextButtonImage.Url = "./add_down.gif"
	Me.WebDayView1.PrevButtonImage.Url = "./del_down.gif"
End Sub
In C#:
private void Page_Load(object sender, System.EventArgs e)
{
	this.WebDayView1.PrevButtonImage.Url = "./del_down.gif";
	this.WebDayView1.NextButtonImage.Url = "./add_down.gif";
}