
Before You Begin
WinTree™ supports displaying Columns of data which is possible by either binding to a data source or by manually adding columns. Either way, ColumnSets are created. To know more about ColumnSets refer to the WinTree ColumnSets Overview topic. The WinTree control can have different ColumnSets on each parent node allowing it to show heterogeneous data. For example, the first Tree Node can represent a Customer schema, the second Tree Node can represent an Employee schema and so on.
What you will Accomplish
In this topic you will learn how to create columns and nodes using the WinTree designer.
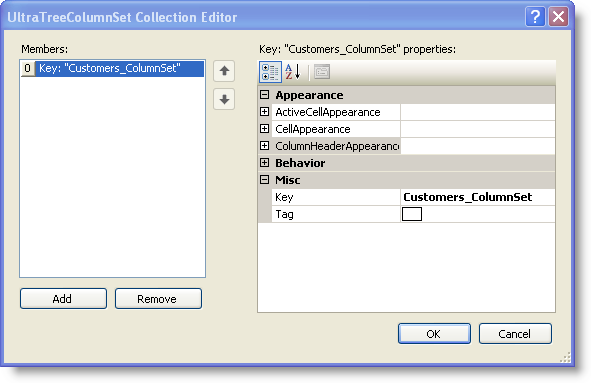
Follow these Steps* From the Microsoft® Visual Studio® Toolbox, drag and drop an UltraTree onto your form. * Click the WinTree smart tag and select Edit ColumnSets. The UltraTreeColumnSet Collection Editor dialog appears. * Click the Add button to create a new UltraTreeColumnSet. The New UltraTreeColumnSet dialog window appears. * Enter a meaningful name for the Key property, in this case Customers_ColumnSet. This is the name given to the ColumnSet.
Click Ok.
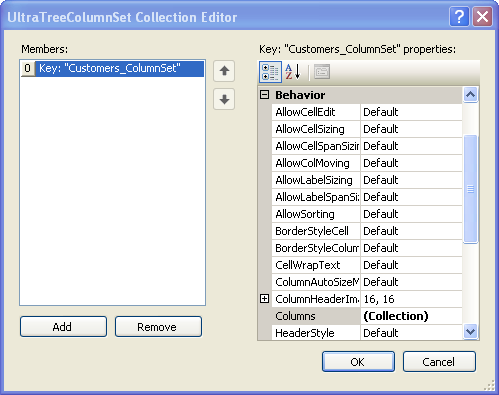
In the ColumnSet’s property section, under the Behavior node select Columns property. Click the ellipsis… button.
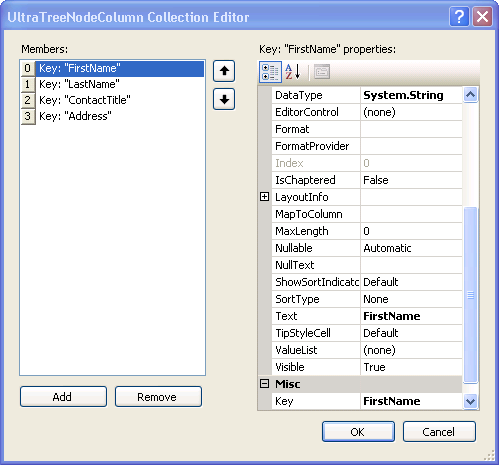
The UltraTreeNodeColumn Collection Editor dialog window appears. The columns that need to be added to the ColumnSet are configured here. Click the Add button. A default column with Key “Column 1” is created.
Set the Key and Text property of the column to “FirstName”. Also change the DataType to System.String.
Repeat the above steps 7 & 8 to add three more columns (LastName, ContactTitle, and Address) to the Customer_ColumnSet and assign the respective Key and Text properties.
Click Ok in the UltraTreeNodeColumn Collection Editor and UltraTreeColumnSet Collection Editor dialog windows.
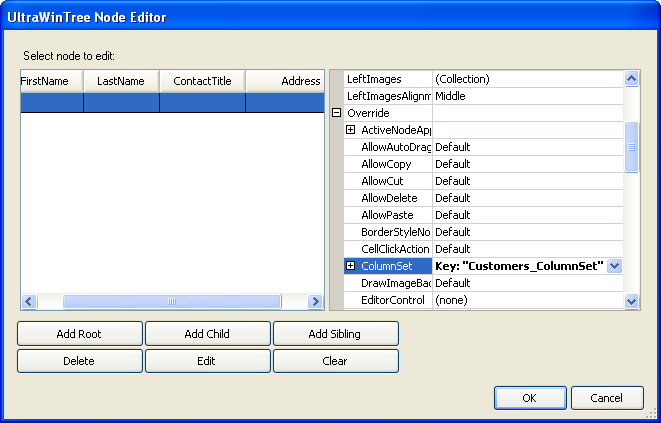
In the WinTree control’s smart tag select Edit Nodes. The UltraWinTree Node Editor dialog appears.
Click the Add Root button to add one node with the Key and Text properties set to “Customers”.

Locate and expand the Override property and then locate the ColumnSet property and select “Customers_ColumnSet” that is listed in the drop-down.
Click Ok.
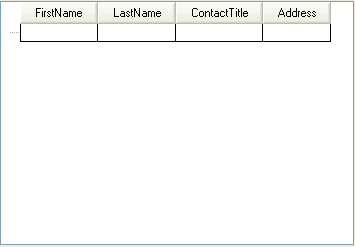
Click the smart tag on WinTree and set the ViewStyle to FreeForm. Now your WinTree should look like the following screenshot with the ColumnSet arrangement.
Add cell values to all the columns added to the ColumnSet.
In Visual Basic:
Me.ultraTree1.Nodes["Customers"].Cells["FirstName"].Value = "Bill"
Me.ultraTree1.Nodes["Customers"].Cells["LastName"].Value = "Smith"
Me.ultraTree1.Nodes["Customers"].Cells["ContactTitle"].Value = "Mr"
Me.ultraTree1.Nodes["Customers"].Cells["Address"].Value = "59, Lackland Ave, Camden, New jersey"
In C#:
this.ultraTree1.Nodes["Customers"].Cells["FirstName"].Value = "Bill";
this.ultraTree1.Nodes["Customers"].Cells["LastName"].Value = "Smith";
this.ultraTree1.Nodes["Customers"].Cells["ContactTitle"].Value = "Mr";
this.ultraTree1.Nodes["Customers"].Cells["Address"].Value = "59, Lackland Ave, Camden, New jersey";
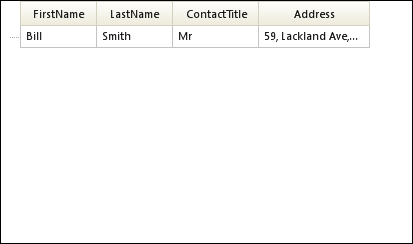
Run the application. The form should look similar to the following screenshot.