This topic demonstrates using QTP/UFT in WPF to insert a table checkpoint.
This topic contains the following sections:
Controls that implement ITableVerify interface support table checkpoints, which are used to verify the cell data within table. The following is the list of Ultimate UI for WPF controls supporting table checkpoints with Test Automation for Micro Focus WPF.
xamColorPicker
xamComboEditor
xamDataChart
xamDataPresenter
xamDataTree
xamDiagramToolbox
xamDoughnutChart
xamGantt
xamGeographicMap
xamGrid
xamMonthCalendar
xamMenu
xamNetworkNode
xamOutlookBar
xamPropertyGrid
xamRibbon
xamSparkline
xamSpreadsheet
xamTabControl
The screenshots provided in these steps may differ from your application as they are based on an existing sample application for demonstration purposes.
Create a new test using the Micro Focus Unified Functional Testing application, and start recording.
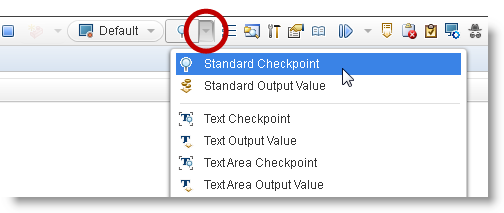
While recording press F12 on the keyboard or use the “Insert Checkpoint” dropdown and select “Standard Checkpoint”.

Bring the mouse pointer (Hand) over to the control (running project) and click on it.
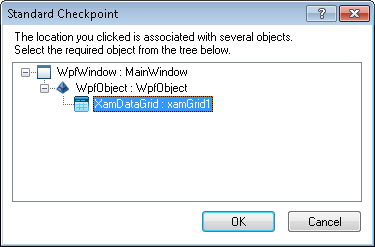
The first popup window shows the control selected, in this case XamDatGrid: [name of the grid]. Click Ok.
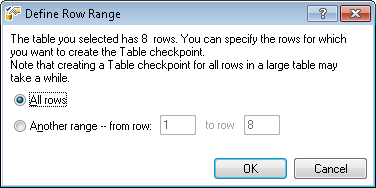
If the control supports ITableVerify, you will see a “Defined Row Range” window. By default, all rows are defined. The following screenshot illustrates this, as the XamDataGrid does support ITableVerify.
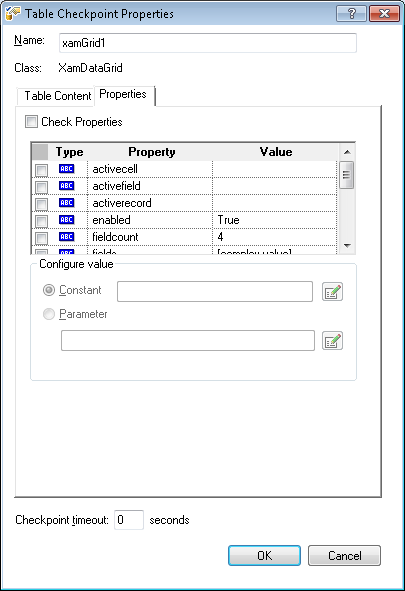
The following screenshot illustrate the “Table Checkpoint Properties” window with two tabs Table Content (selected by default) and Properties .
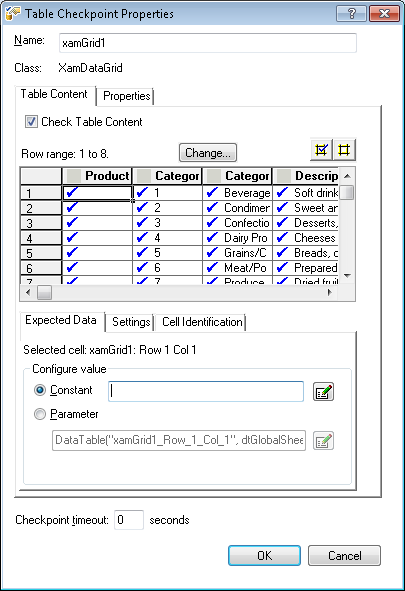
Properties tab view of the “Table Checkpoint Properties” displays the editable checkpoint properties.
