xmlns:ig="http://schemas.infragistics.com/xaml"
xmlns:navigation="clr-namespace:System.Windows.Controls;assembly=System.Windows.Controls.Navigation"

The xamMenu™ control takes advantage of WPF navigation feature by providing the NavigationUri and NavigationElement properties. If you would like to navigate to different pages in your application, set the XamMenuItem object’s NavigationUri to the location of a page and the NavigationElement as a Frame control.
You will learn how to navigate to a new XAML page using the xamMenu control.
Create a new WPF application in Microsoft® Visual Studio®.
Add a reference to the following NuGet package:
Infragistics.WPF.Menus
Additionally, add a reference to the following Microsoft assembly:
System.Windows.Controls.Navigation
For more information on setting up the NuGet feed and adding NuGet packages, you can take a look at the following documentation: NuGet Feeds.
Add the following namespace declarations inside the opening UserControl tag.
In XAML:
xmlns:ig="http://schemas.infragistics.com/xaml" xmlns:navigation="clr-namespace:System.Windows.Controls;assembly=System.Windows.Controls.Navigation"
Add the xamMenu control to the User Control.
Add a menu item and call it Pages.
In XAML:
<ig:XamMenu x:Name="xamMenu1" Height="23">
   <ig:XamMenuItem Header="Pages">
       <!-- TODO: add nested menu item that links to a XAML page -->
   </ig:XamMenuItem>
</ig:XamMenu>
Add a Frame control under the xamMenu control to display the new page.
In XAML:
<navigation:Frame Grid.Row="1" x:Name="menuFrame"></navigation:Frame>
Create a new Page control in your application.
Right-click the current project in the Solution Explorer and highlight Add.
Select New Item in the submenu. An Add New Item dialog appears.
Select WPF Page.
Name the page NavigationPage.xaml and click Add.
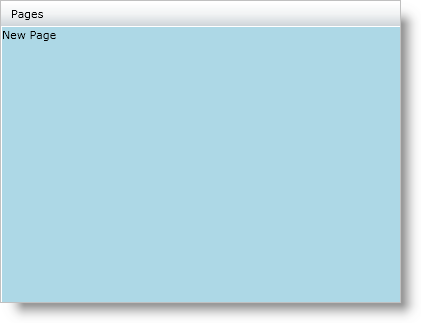
Make the background light blue and add a TextBlock control with the text "New Page" to NavigationPage.xaml.
In XAML:
<Grid x:Name="LayoutRoot" Background="LightBlue">
   <TextBlock Text="New Page" />
</Grid>
Add the nested menu item that links to the page created above using the Frame control.
Set the NavigationUri property to the relative path of the page.
Set the NavigationElement property to the Frame control.
Set the NavigationOnClick property to True.
In XAML:
<ig:XamMenuItem Header="New Page" NavigationOnClick="True" NavigationElement="{Binding ElementName=menuFrame}" NavigationUri="/NavigationPage.xaml"/>
Run your application. Highlight the Pages menu item and click on the New Page item. The new page displays under the menu.