This is one of the five topics explaining the views of the xamSchedule controls:
xamScheduleView (This is the current topic)
This topic is organized in sections as follows:
Introduction
Purpose
Presenting Activities in the Schedule
Configuring the Data Source
User Interaction and Usability
xamScheduleView Configuration Options
Related Topics
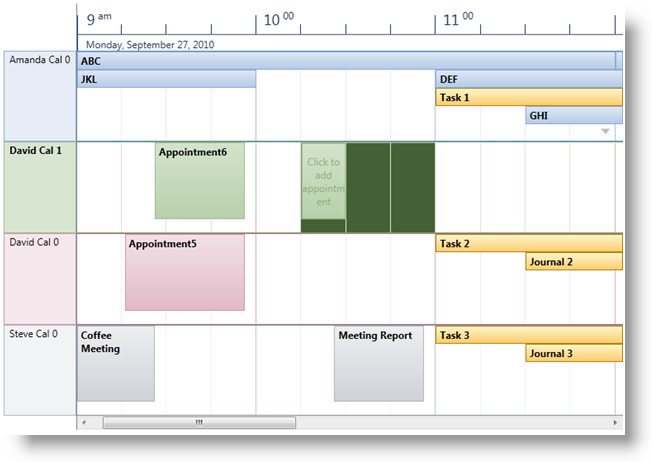
XamScheduleView is one of the five view controls in the XamSchedule family. This view is similar to the xamDayView with a couple of exceptions. The primary difference is that in XamScheduleView the timeslots of the days are displayed horizontally in a single line (as opposed to vertically in a single column for xamDayView). (Figure 1)

The data for the activities and resource calendars displayed in the view is provided by an instance of XamDataManager. That instance is configured with the DataManager property of xamMonthView.
In XamScheduleView, users can:
Navigate through the timeslots and activities using the keyboard
Create activities with one click of the mouse:
by selecting time slot (with keyboard or mouse) and typing directly into it
by clicking the “Click to Add” prompt that is displayed when hovering over a time slot
Resize an activity (that is, change the Start or End of an activity) using the resize grips
Drag an activity from one schedule to another (that is, among different xamSchedule controls associated with the same xamScheduleDataManager)
Click and modify the Subject of an activity
Create a new activity by double-clicking a day (via the activity dialog)
Edit an activity by double-clicking on it
Navigate to an activity using the more activity arrows
Scroll the schedule using the scrollbar
Delete selected activities
with the Delete key
from the Activity dialog
Resize the calendar groups
Resize the calendar header area
WeekDisplayMode – this setting has three options:
None – displays the day or days specified in the VisibleDays Collection
Week – displays all 7 week days
WorkWeek – displays the working days of the week. Note that the default Monday to Friday work days can be changed via WorkingDays property in Settings of the XamDataManager.
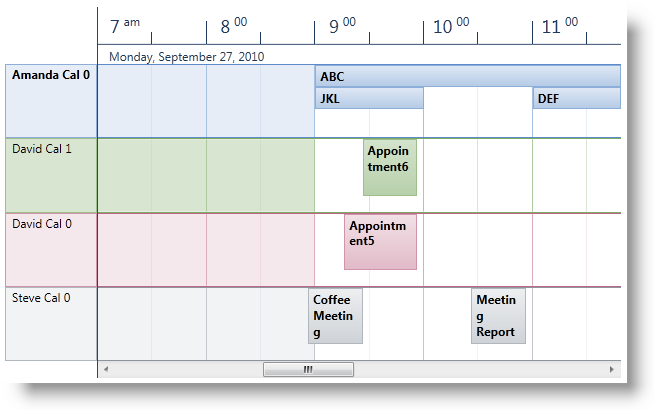
ShowWorkingHoursOnly is a boolean property that allows the developer to show only the working hours of the day. The default (9am-5pm) values can be changed via WorkingHours property in Settings of the XamDataManager. (See the Working Hours topic)
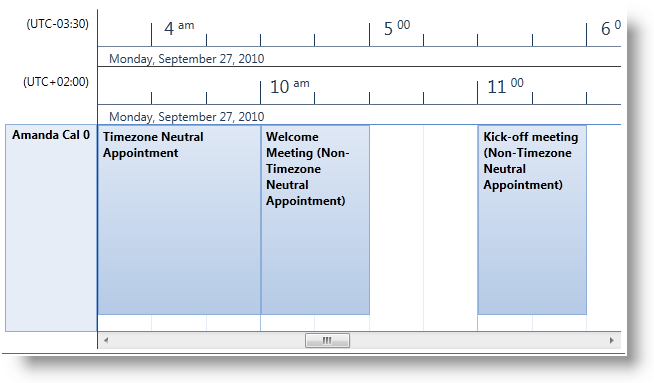
Secondary Timezone settings – the xamScheduleView displays one primary timezone header by default. However there is a property called SecondaryTimeZoneVisibility that allows the developer to show a secondary Timezone header. There are also properties for setting the TimeZoneId and the label for it. Here is a sample:
In Visual Basic:
scheduleView.SecondaryTimeZoneVisibility = _
    System.Windows.Visibility.Visible
scheduleView.SecondaryTimeZoneLabel = _
    "(UTC-03:30)"
scheduleView.SecondaryTimeZoneId = _
    "Newfoundland Standard Time"
In C#:
scheduleView.SecondaryTimeZoneVisibility =
    System.Windows.Visibility.Visible;
scheduleView.SecondaryTimeZoneLabel =
    "(UTC-03:30)";
scheduleView.SecondaryTimeZoneId =
    "Newfoundland Standard Time";
CalendarDisplayMode – this property has three valid options – Overlay, Separate and Merged.
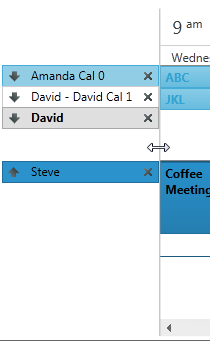
When using Overlay and Separate modes the developer can choose to show the Close and Overlay buttons (affects Overlay mode only). The visibility of these buttons lets the end user move the calendars in different groups and allows closing them.
In Visual Basic:
scheduleView.ShowCalendarCloseButton = True
scheduleView.ShowCalendarOverlayButton = True
In C#:
scheduleView.ShowCalendarCloseButton = true;
scheduleView.ShowCalendarOverlayButton = true;Visible Days – the developer can show multiple days for one calendar just by populating the VisibleDates collection.
TimeslotInterval – This property allows the developer to change the default 15-minute timeslots.
In Visual Basic:
scheduleView.TimeslotInterval = New System.TimeSpan(0, 30, 0)In C#:
scheduleView.TimeslotInterval = new System.TimeSpan(0, 30, 0);
The single calendars or calendar groups (depending of the value set in the CalendarDisplayMode property) have equal size. In case you have more calendars in one group comparing to the other you may want the end user to be able to resize these groups. This can be achieved by setting the AllowCalendarGroupResizing Boolean property. Double clicking on the resizing point will restore the initial size of the calendar groups.
To allow the end user to resize the calendar header area, set the AllowCalendarHeaderAreaResizing Boolean property to true. Also you can use the CalendarHeaderAreaWidth property to specify custom width for it. Double clicking on the resizing point will restore the initial calendar header width.
In Visual Basic:
scheduleView.AllowCalendarHeaderAreaResizing = TrueIn C#:
scheduleView.AllowCalendarHeaderAreaResizing = true;