This topic provides you with systematic instructions designed to help you get the xamSyntaxEditor™ up and running as quickly as possible.
The following topics are prerequisites to understanding this topic:
This topic contains the following sections:
This procedure provides systematic instructions for adding the xamSyntaxEditor to your page.
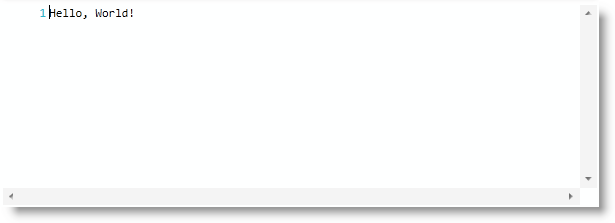
The following screenshot illustrates a xamSyntaxEditor with the text, “Hello, World!”. This is representative of how the xamSyntaxEditor previews the result.

The following steps demonstrate how to add the xamSyntaxEditor to your page.
Add the following NuGet package reference to your project:
Infragistics.WPF.SyntaxEditor
For more information on setting up the NuGet feed and adding NuGet packages, you can take a look at the following documentation: NuGet Feeds.
Add the following namespaces:
In XAML:
xmlns:ig="http://schemas.infragistics.com/xaml"In C#:
using Infragistics.Controls.Editors;
using Infragistics.Documents;
In Visual Basic:
Imports Infragistics.Controls.Editors
Imports Infragistics.DocumentsCreate and put the xamSyntaxEditor on your page.
In XAML:
<ig:XamSyntaxEditor x:Name="xamSyntaxEditor1">
</ig:XamSyntaxEditor>Create the TextDocument and set it to the xamSyntaxEditor ’s “Document” property.
In XAML:
<ig:XamSyntaxEditor.Document>
  <ig:TextDocument />
</ig:XamSyntaxEditor.Document>
In C#:
TextDocument td = new TextDocument();
this.xamSyntaxEditor1.Document = td;
In Visual Basic:
Dim td As New TextDocument()
Me.xamSyntaxEditor1.Document = tdUsing the InitializeText method, add some text in the TextDocument.
In C#:
td.InitializeText("Hello, World!");In Visual Basic:
td.InitializeText("Hello, World!")The following topics provide additional information related to this topic.