
WebDataMenu™ allows adding images and navigation urls to the menu items without writing any code.You can easily add images and navigation urls by setting the ImageUrl and NavigateUrl properties of the menu item.
You will learn how to add images and navigation urls to the menu items using the designer.
From the Visual Studio™ Toolbox, drag and drop a ScriptManager component and a WebDataMenu control onto the form.
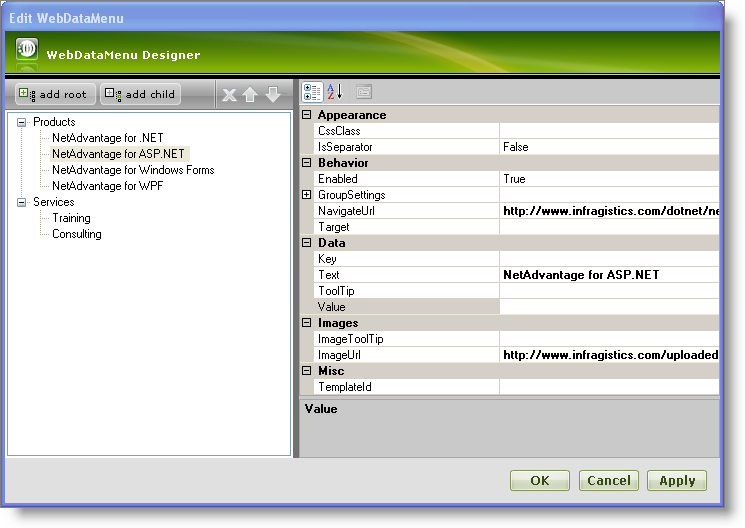
Add two root items using the WebDataMenu Designer and set their Text property to Products and Services. Add four child items to the Products root item and set their Text,NavigateUrl and ImageUrl properties as shown below :
Similarly, add two child items to the Services root item and set the following properties :
For more information on how to add items to WebDataMenu using the designer see the Getting Started with WebDataMenu topic.
At this point your WebDataMenu Designer should look similar to the following image:
Click Apply and OK to close the WebDataMenu Designer.
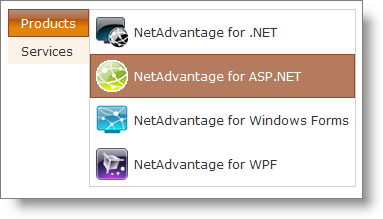
Save and run your application. Your WebDataMenu should look similar to the following image as you hover the mouse over the Products item.