<ig:WebDocumentExporter runat="server" ID="WebDocumentExporter"
You will learn how to set up and use WebDocumentExporter to export WebDataGrid / WebHierarchicalDataGrid data into a PDF or XPS document file format.
Bind the WebDataGrid retrieving data from Customers table of Northwind.
Drag a WebDocumentExporter control from the Visual Studio Toolbox onto your page:
Set the WebDocumentExporter’s ExportMode property to Download.
Set the control’s ID property to WebDocumentExporter.
Set the control’s DownloadName property to “ExportedData”.
In HTML:
<ig:WebDocumentExporter runat="server" ID="WebDocumentExporter"ExportMode ="Download" DownloadName="ExportedData" />Drag a Button control from Visual Studio Toolbox onto your page:
Set the button’s ID property to btnExport.
Set the control’s Text property to “Export Data”.
Set the control’s OnClick to “btnExport_Click”.
Define the “btnExport_Click” handler in the code-behind and call WebDocumentExporter’s Export method.
In HTML:
<asp:Button runat="server" ID="btnExport" Text="Export Data" OnClick="btnExport_Click" />
Run the application.
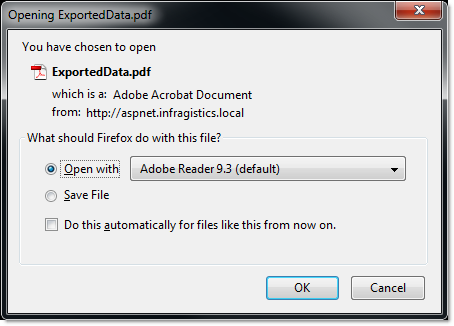
Click the “Export Data” button.
After clicking the “Export Data” button, your browser will ask you whether you want to open or save the file named “ExportedData.pdf”.