
You can modify and save a Gauge preset through the Gauge Designer. This allows you to customize the presets to suit your own needs. For example, you can change the color of a preset to blend in with your own application.
To modify and save a preset:
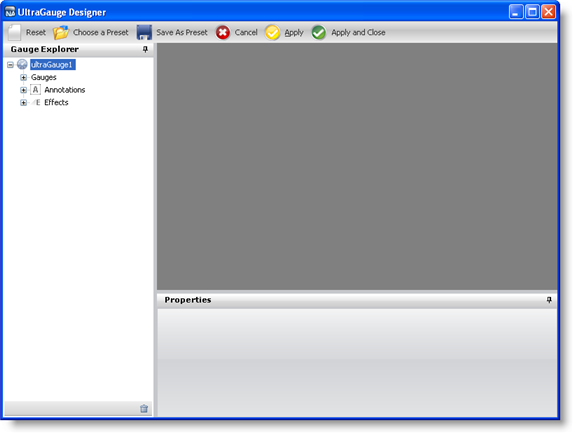
From the toolbox, drag the UltraGauge control to your form. The Gauge Designer opens.
On the toolbar, click Choose a Preset. The Gauge Presets dialog box opens with the Radial tab selected by default.
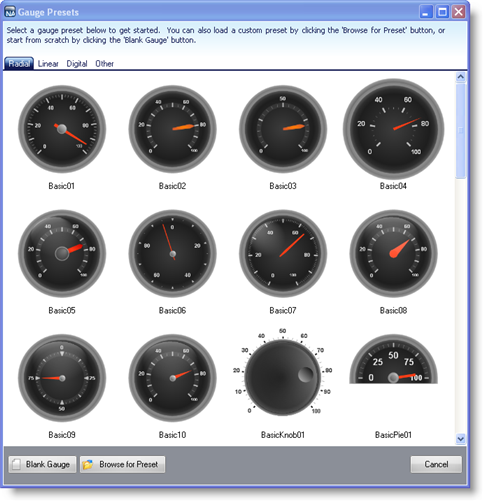
Select a predefined Radial gauge. When the Load Preset message appears, click OK. Your gauge appears in the interactive preview area.
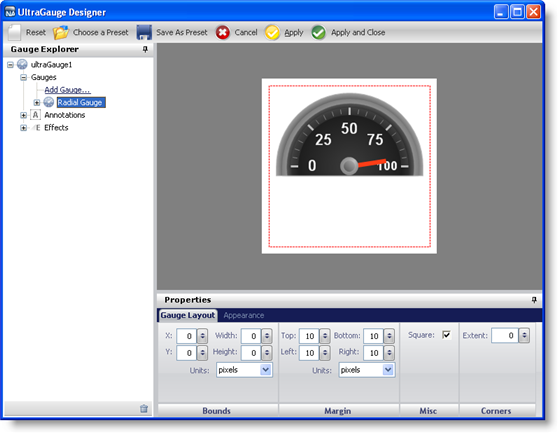
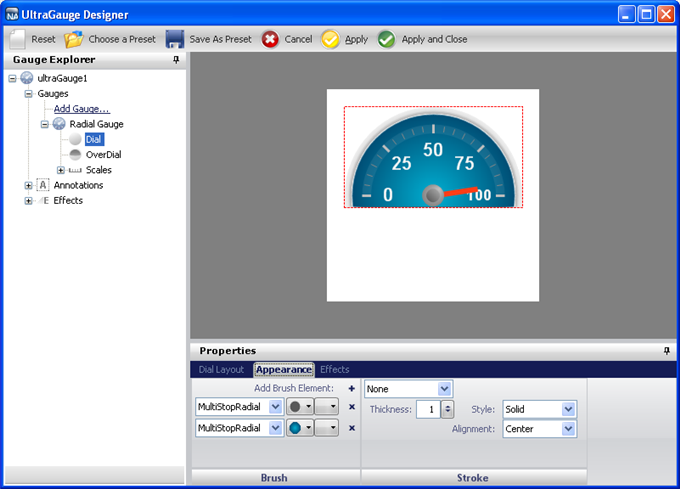
In the Gauge Explorer, expand Gauges, then Radial Gauge and select Dial.
In the Properties panel, click the Appearance tab.
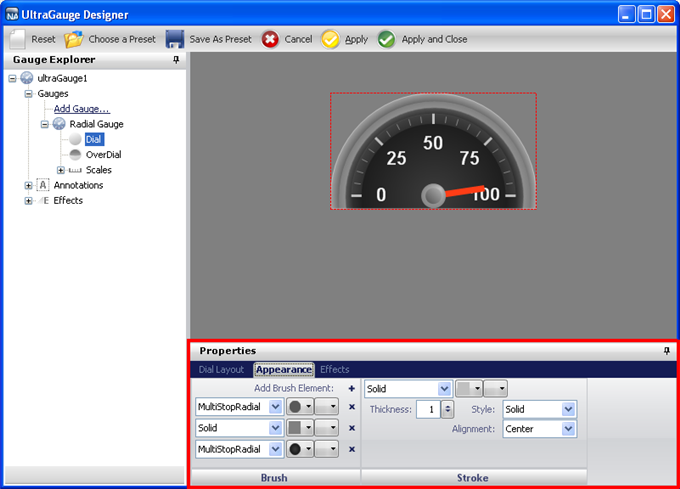
In the Brush pane, edit the existing brush elements' colors by selecting the right-hand drop-down lists. For more information about brush elements, see Apply Brush Elements Using WebGauge Designer.
Set the color of the first brush element to blend from 240, 240, 240 to 89, 89, 89, with one stop:
Stop at 0.4 - Color set to 210,210,210\.
Delete the second brush element by clicking on the cross (x) icon.
Set the color of the third brush element to blend from transparent to 0, 174, 209, with three stops:
Stop at 0.0354 - Color set to 180, 180, 180
Stop at 0.041 - Color set to 240, 240, 240
Stop at 0.058 - Color set to 0, 79, 118
In the Stroke pane, select None from the upper-left drop-down list.
On the toolbar, click Save As Preset.
In the Save As Preset dialog box, specify a name and location for your preset, and click Save. Your preset is now saved so that you can use it later to apply to another Gauge control.