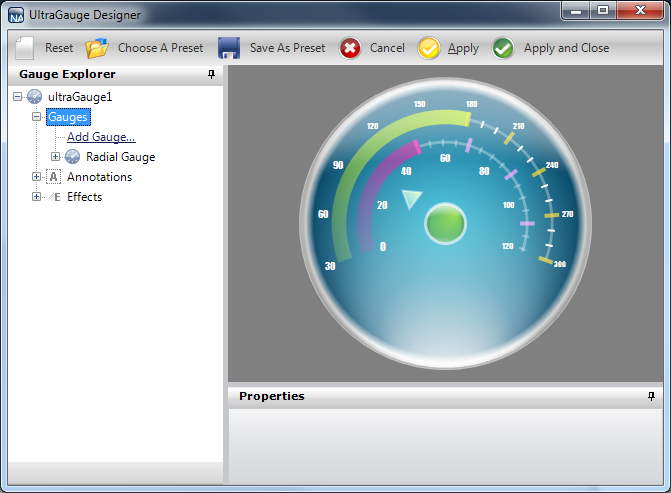

This topic is a continuation of Creating a Complex Gauge Using the Gauge Designer Part 3 of 5. This procedure guides you through the process of adding a new scale and range to the existing Radial gauge.
In the Gauge Explorer, expand Scales.
Click Add Scale… and select New Scale.
On the Scales Labels appearance, set the color brush to Transparent.
On the Major Tickmarks, set the Extent and Width properties to zero.
In the Properties panel, click the Scale Layout tab. In the Sweep Angle pane, set the following properties:
Start — 160
End — 380
In the Axis pane of the Scale Layout tab, set the following properties:
End Value — 120.00
Start Value — 0.00
Tickmark Interval — 1.0
In the Gauge Explorer, expand Ranges.
Click Add Range… and select New Range.
In the Value pane of the Range Layout tab, set the following properties:
Start — 0.00
End — 50.00
In the Extent pane of the Range Layout tab, set the following properties:
Inner Start — 51
Inner End — 51
Outer — 61
Click the Appearance tab. In the Brush pane, add the following brush elements with the specified properties:
StartColor — Color = Color.FromArgb(232, 0, 154)
EndColor — Color = Transparent
Gradient Style — BackwardDiagonal