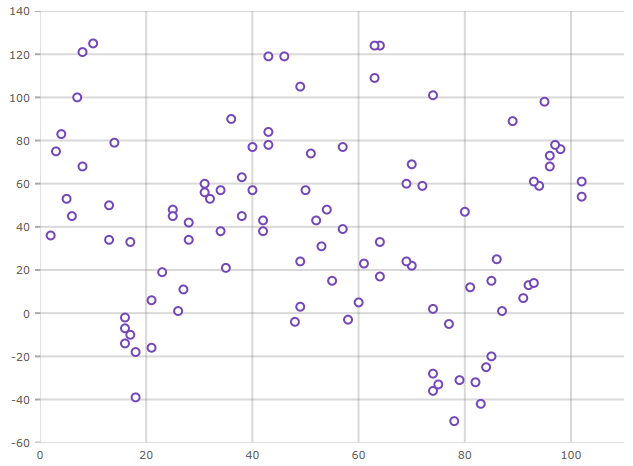
This topic explains with a code example how to add the XamShapeChart control to WPF applications.
The following procedure shows how to add the XamShapeChart to WPF applications.
The following is a screenshot of the XamShapeChart.

Add the following NuGet package to your application:
Infragistics.WPF.Charts
For more information on setting up the NuGet feed and adding NuGet packages, you can take a look at the following documentation: NuGet Feeds.
In XAML:
xmlns:ig="http://schemas.infragistics.com/xaml"In C#:
using Infragistics.Controls.Charts;In VB:
Imports Infragistics.Controls.ChartsThe following code demonstrates adding the XamShapeChart control with the minimal code and property settings required for display. The below code uses the Sample Scatter Data resource.
In XAML:
<Grid x:Name="layoutRoot">
    <ig:XamShapeChart ItemsSource="{Binding DataCollection}" />
</Grid>
In C#:
var data = new ScatterDataSource();
var shapeChart = new XamShapeChart();
shapeChart.ItemsSource = data;
this.layoutRoot.Children.Add(shapeChart);
In VB:
Dim data As New ScatterDataSource()
Dim shapeChart As New XamShapeChart()
shapeChart.ItemsSource = data
Me.layoutRoot.Children.Add(shapeChart)Build and run your project to verify the result. If you have implemented the steps correctly, the displayed XamShapeChart should look like the one in the Preview section above.
The following topics provide additional information related to this topic: