This topic demonstrates how to create a xamTreemap™ using Expression Blend™.
The topic is organized as follows:
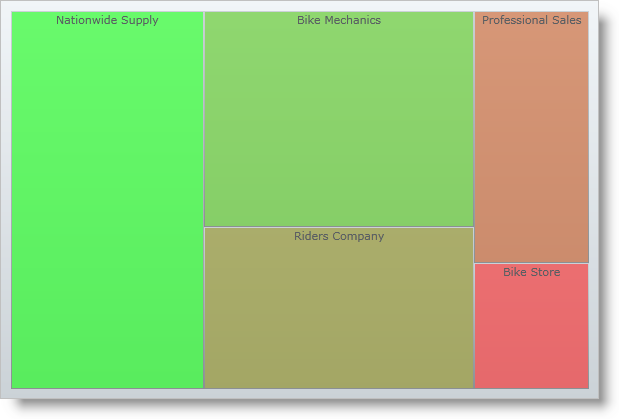
Following is a preview of the final result:

Figure 1: A data bound Treemap with color mapping.
Microsoft® WPF® project in Expression Blend™
Add the following NuGet package to your application:
Infragistics.WPF.Treemap
For more information on setting up the NuGet feed and adding NuGet packages, you can take a look at the following documentation: NuGet Feeds.
This procedure uses a simple data model for binding the xamTreemap control’s DataContext property. It can be downloading from Manufacturer View Model.
Right-click on your project in Blend and select Add Reference to add the required assemblies.
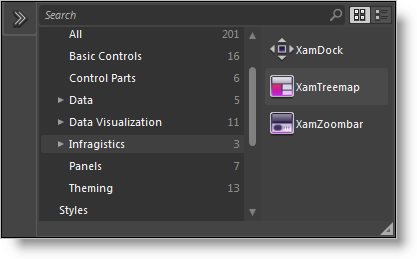
Figure 2: Blend’s Assets Library
*Bind the DataContext property to the ManufacturerViewModel class.*In the Properties pane, go to Common Properties. For the DataContext property, create a new object and use the ManufacturerViewModel class. (Figure 3 and Figure 4)
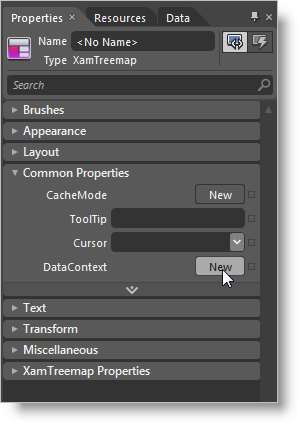
Figure 3: The Properties tab for xamTreemap

Figure 4: Blend object browser
Bind the ItemsSource property to the Manufacturers collection of the view model.
In the Properties pane, go to XamTreemap Properties and apply a Data Binding to the ItemsSource property using the Manufacturers collection of the view model (Figure 5 and Figure 6):
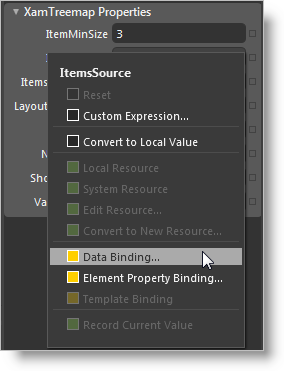
Figure 5: Binding the ItemsSource
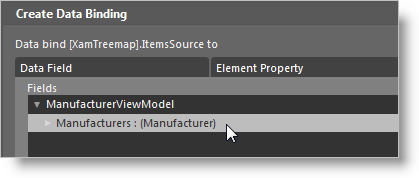
Figure 6: Creating a Data Binding
Create a new NodeBinders collection.
In the XamTreemap Properties, go to NodeBinders and create a new collection. (Figure 7)
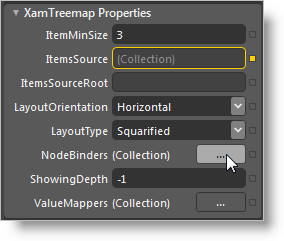
Figure 7: Creating a new Node Binders collection
Add a new Node Binder to the collection and set the following properties:
TargetTypeName = Manufacturer
TextPath = Name
ValuePath = Revenue
Note: Now that a Node Binder is added, notice how the xamTreemap displays its data. (Figure 8)
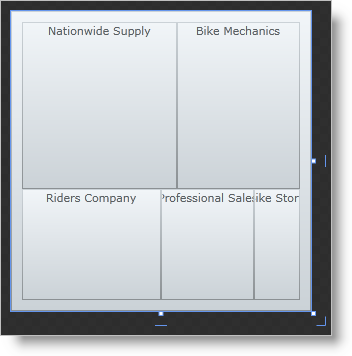
Figure 8: A preview of the Treemap in Blend
Create a new ValueMappers collection.
In the XamTreemap Properties, go to ValueMappers and create a new collection. (Figure 9)
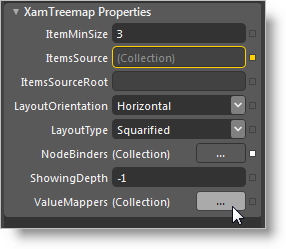
Figure 9: Creating a new Value Mappers collection
Add a new item to the collection and from the Select Object window, choose the ColorMapper class:
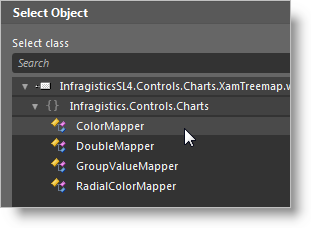
Figure 10: Selecting ColorMapper
After you create a new Value Mapper, set the following properties:
ValueTypeName = Manufacturer
TargetProperty = Fill
ValuePath = Revenue
Set colors for the From and To properties.
Note: Now that a Color Mapper is added, notice how the xamTreemap displays its data. (Figure 11)
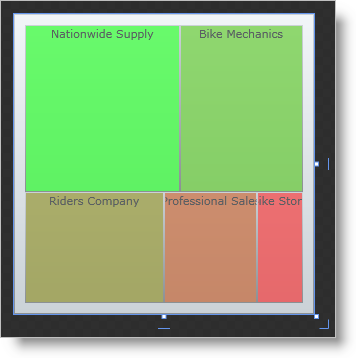
Figure 11: A preview of the Treemap with Value Mappers in Blend
Save your project.
(Optional) Verify the result.
Run your application and if you have implemented the steps correctly, your Treemap should look as shown in Figure 1 above.